Tipps
1. How to start? |
| First steps with the Orimoto Program. |
2. Why are there so many inside the Orimoto Programm? |
| The in the Orimoto Program gives more information about each field. To do this, they must be pressed very gently. |
3. Where can I get more information on book folding? |
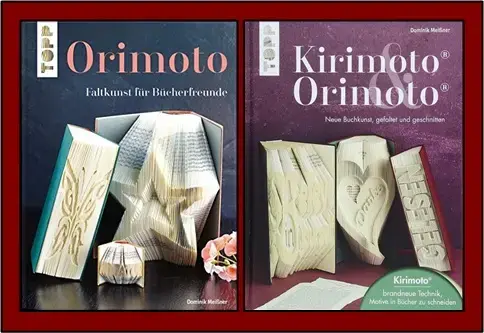
The following and much more is described in these three instruction books.
|
4. How to work with the pattern without a printer? |
| In the Orimoto programme there is the measuring method (M), with this a pattern with measured values can be created. With a ruler and a pencil, the measured values can be transferred to the book sheet. To do this, the ruler is placed at the upper edge of the book at zero and all the measured values of the book sheet are transferred with a pencil. The ruler is not moved in the process. A paper ruler can also be used. Translated with www.DeepL.com/Translator (free version) |
5. What is the difference between the graphic pattern and the measurement pattern? |
The finished folded book has no difference. The graphic pattern is nothing more than a paper ruler. It has the advantage that the measurements do not have to be transferred and therefore the graphic pattern is faster, more accurate and you can see what is being worked on.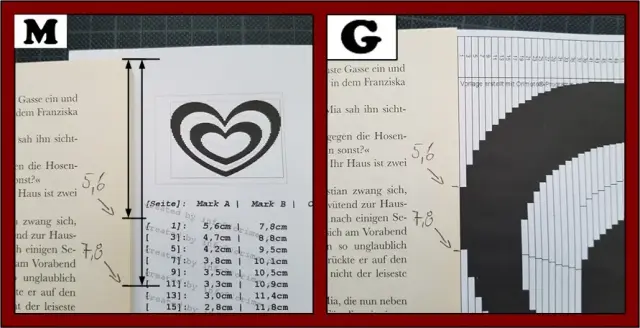
|
6. How is the graphic pattern structured and how do I optimally lay out the graphic pattern in the book? |
The graphic pattern is divided into individual areas:
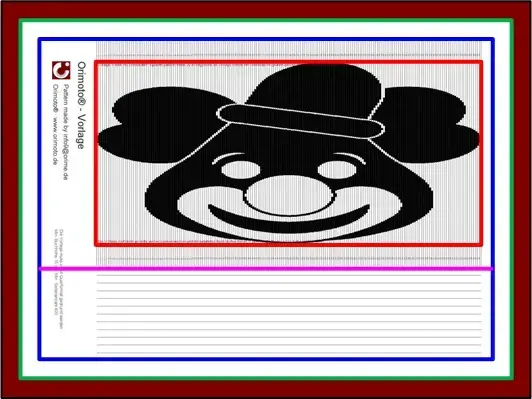 So that the object later sits in the middle of the book, the book leaf is placed on the upper blue or lower pink line (in the graphic pattern all lines are black). On the left, the book page is as high as the created pattern. In the middle and on the right, the book leaf is larger than the pattern, here the object later sits a little higher or lower in the book. 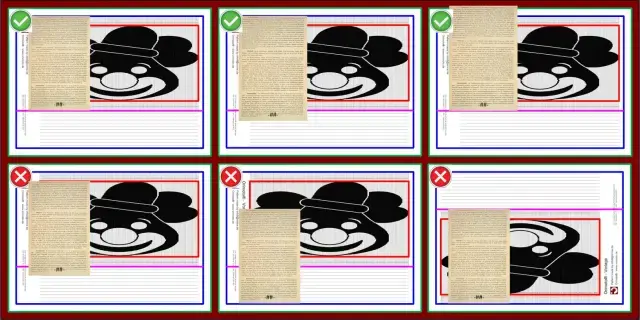 The pattern can be cut off at the blue or pink line so that it can then be placed flush against the edge of the book page. |
Sign up for more tips and tricks. |
Orimoto® pattern program
The Orimoto® program exists officially around 24 years.
No installation is necessary because this is the Orimoto® program and it is already running on your internet enabled device.
The full version for individuals can be purchased via an account in the free version. If you need a company licence for e.g. a library, a rehabilitation centre, a school, etc., please send an eMail with your request to info@orimoto.eu.
In the free version, the button can be used to open the full version for viewing. In the full version, the number of pages and the height of the book are also different from those in the free version
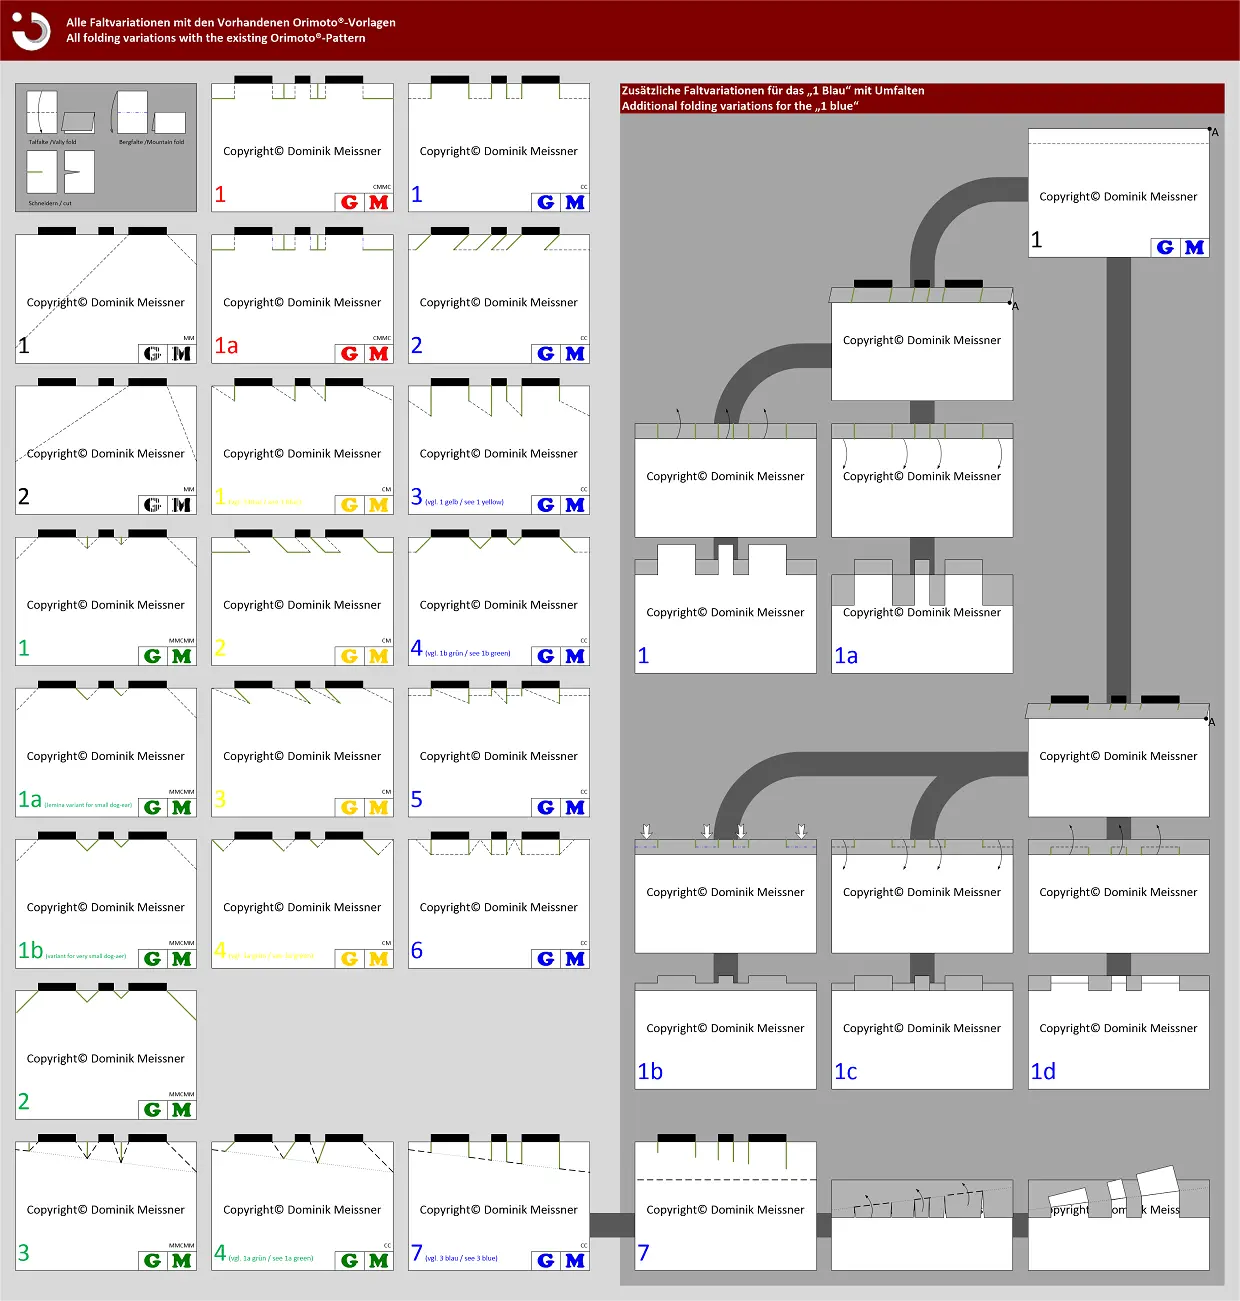
The full version can create patterns of the following folding types:
No installation is necessary because this is the Orimoto® program and it is already running on your internet enabled device.
Free version
The free version of the Orimoto® program is free of charge so you can test the Orimoto® program first and see if you enjoy folding books. You may sell and display your folded books but not with the name Orimoto® or Kirimoto®, these are wordmarks. You may not sell or give away the patterns created by the Orimoto® program!Full version
The full version is chargeable and it is available in three variants:- with a maximum of 2 patterns,
- with a maximum of 15 patterns and
- with unlimited patterns.
The full version for individuals can be purchased via an account in the free version. If you need a company licence for e.g. a library, a rehabilitation centre, a school, etc., please send an eMail with your request to info@orimoto.eu.
In the free version, the button can be used to open the full version for viewing. In the full version, the number of pages and the height of the book are also different from those in the free version
- Number of pages from 50 to 4,000
- Book height from 5 cm to 84.1 cm
- Lettering from 1 to 999 characters
The full version can create patterns of the following folding types:
- 45° folding only (MMF)
- 45° cut and fold
- 90°
- 180° (C&F)
- Shadow folding
- Lazy fold
- Oblique folding
- Combination
- Fore-edge strips
The full version can create patterns for all 42 different folding types.

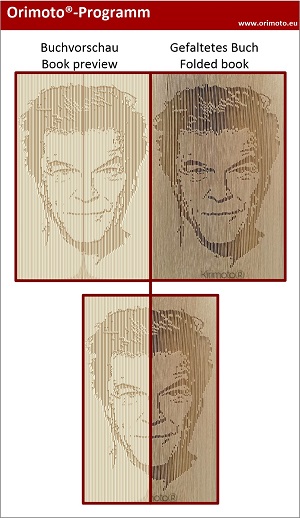
Since May. 2019, the book preview in the Orimoto® program shows you how the folded book might look (WYSIWYG).

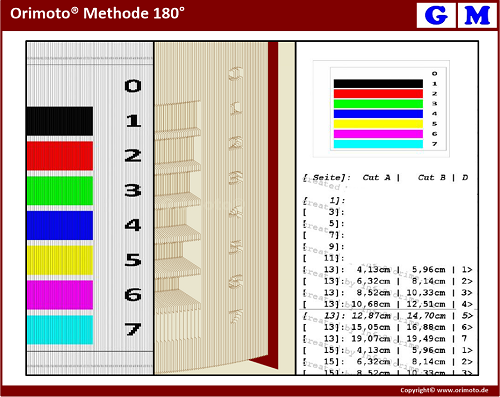
As of March 2020, the Orimoto® program can interpret coloured graphics and displays the colours differently.

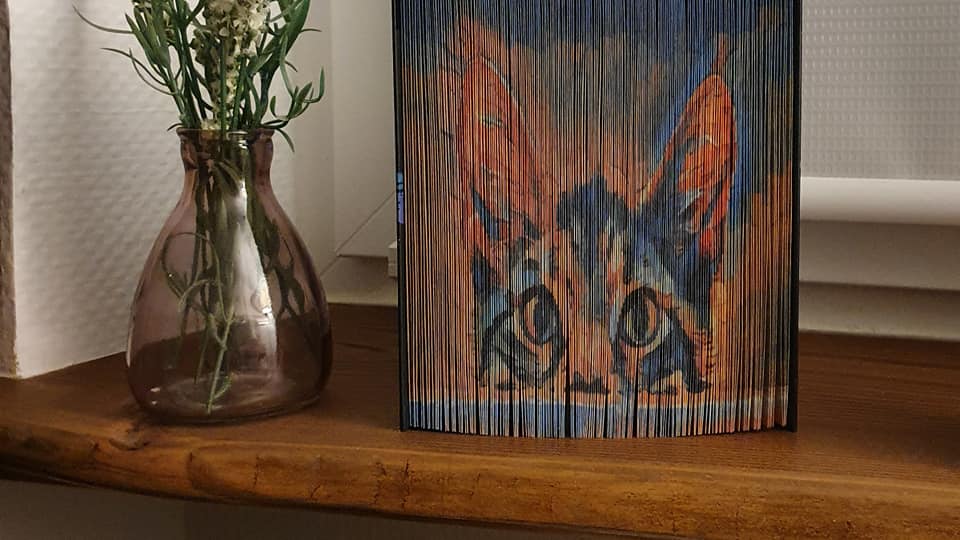
As of February 2021, the Orimoto program has been modified to allow the width of the strips on the pattern to be increased. This makes the Fore-edge strips book easier to work with.

Privacy:
If you do not log in to the free version of the Orimoto® program for 6 months, your account and all your data will be automatically deleted from the Orimoto® program. You can create a new account again at any time.Pattern:
The program has created 3,426,629 personalized patterns so far to fold 1,568,385,031 pages. To create a personalized pattern, the program needs 5-10 seconds.
The only place to get personalized patterns for free (as many as you like).
Yes, you may sell your folded books, but you must not sell or share the patterns created by the program!
The only place to get personalized patterns for free (as many as you like).
Yes, you may sell your folded books, but you must not sell or share the patterns created by the program!


Excel Vorlagen
Wie Sie mit Excel Vorlagen selber machen wird auf dieser Seite erklärt.
In diesem Anleitungsbuch ist zudem grob erklärt, wie sie sich mit einem Tabellenkalkulations Programm, z.B. Microsoft Excel, LibreOffice, OpenOffice Calc, etc. Vorlagen selber machen können.


"Konkurrenz" Programme
Da das Orimoto Programm 2002 das erste Programm war, mit dem Vorlagen zum Bücherfalten erstellt werden konnte, sind die nachfolgenden aufgelisteten Programm keine Konkurrenz Programm, sondern nur Kopien.
- bookami® Programm
- Book Art Design Software (BADS)
- foldsy® Programm
- crafty49 Programm
- lotus book folding
- vektorrascheln Programm
- Wunderfold


Information
Wenn Sie soweit runter geblättert haben wissen Sie warum, diese Information hier steht ;-)
- bookami® Programm
- Book Art Design Software
- foldsy® Programm
- crafty49 Programm
- lotus book folding
- vektorrascheln Programm
- Wunderfold


Orimoto® pattern program
The Orimoto® program exists officially around 24 years.
No installation is necessary because this is the Orimoto® program and it is already running on your internet enabled device.
The full version for individuals can be purchased via an account in the free version. If you need a company licence for e.g. a library, a rehabilitation centre, a school, etc., please send an eMail with your request to info@orimoto.eu.
In the free version, the button can be used to open the full version for viewing. In the full version, the number of pages and the height of the book are also different from those in the free version
The full version can create patterns of the following folding types:
No installation is necessary because this is the Orimoto® program and it is already running on your internet enabled device.
Free version
The free version of the Orimoto® program is free of charge so you can test the Orimoto® program first and see if you enjoy folding books. You may sell and display your folded books but not with the name Orimoto® or Kirimoto®, these are wordmarks. You may not sell or give away the patterns created by the Orimoto® program!Full version
The full version is chargeable and it is available in three variants:- with a maximum of 2 patterns,
- with a maximum of 15 patterns and
- with unlimited patterns.
The full version for individuals can be purchased via an account in the free version. If you need a company licence for e.g. a library, a rehabilitation centre, a school, etc., please send an eMail with your request to info@orimoto.eu.
In the free version, the button can be used to open the full version for viewing. In the full version, the number of pages and the height of the book are also different from those in the free version
- Number of pages from 50 to 4,000
- Book height from 5 cm to 84.1 cm
- Lettering from 1 to 999 characters
The full version can create patterns of the following folding types:
- 45° folding only (MMF)
- 45° cut and fold
- 90°
- 180° (C&F)
- Shadow folding
- Lazy fold
- Oblique folding
- Combination
- Fore-edge strips
The full version can create patterns for all 42 different folding types.


Since May. 2019, the book preview in the Orimoto® program shows you how the folded book might look (WYSIWYG).


As of March 2020, the Orimoto® program can interpret coloured graphics and displays the colours differently.


As of February 2021, the Orimoto program has been modified to allow the width of the strips on the pattern to be increased. This makes the Fore-edge strips book easier to work with.

